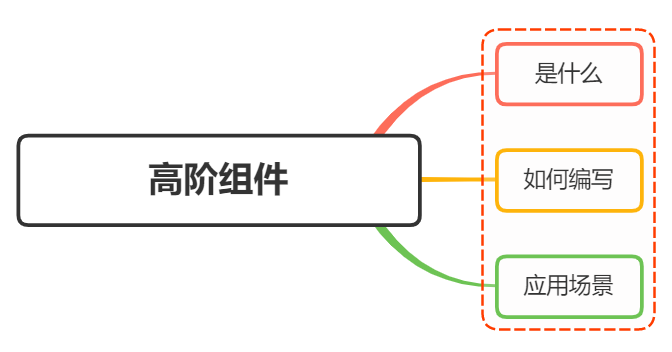
面试官:说说对高阶组件的理解?应用场景?

一、是什么
高阶函数(Higher-order function),至少满足下列一个条件的函数
- 接受一个或多个函数作为输入
- 输出一个函数
在React中,高阶组件即接受一个或多个组件作为参数并且返回一个组件,本质也就是一个函数,并不是一个组件
jsx
const EnhancedComponent = highOrderComponent(WrappedComponent);
上述代码中,该函数接受一个组件WrappedComponent作为参数,返回加工过的新组件EnhancedComponent
高阶组件的这种实现方式,本质上是一个装饰者设计模式
二、如何编写
最基本的高阶组件的编写模板如下:
jsx
import React, { Component } from 'react';

export default (WrappedComponent) => {
  return class EnhancedComponent extends Component {
    // do something
    render() {
      return <WrappedComponent />;
    }
  }
}
通过对传入的原始组件 WrappedComponent 做一些你想要的操作(比如操作 props,提取 state,给原始组件包裹其他元素等),从而加工出想要的组件 EnhancedComponent
把通用的逻辑放在高阶组件中,对组件实现一致的处理,从而实现代码的复用
所以,高阶组件的主要功能是封装并分离组件的通用逻辑,让通用逻辑在组件间更好地被复用
但在使用高阶组件的同时,一般遵循一些约定,如下:
- props 保持一致
- 你不能在函数式(无状态)组件上使用 ref 属性,因为它没有实例
- 不要以任何方式改变原始组件 WrappedComponent
- 透传不相关 props 属性给被包裹的组件 WrappedComponent
- 不要再 render() 方法中使用高阶组件
- 使用 compose 组合高阶组件
- 包装显示名字以便于调试
这里需要注意的是,高阶组件可以传递所有的props,但是不能传递ref
如果向一个高阶组件添加refe引用,那么ref 指向的是最外层容器组件实例的,而不是被包裹的组件,如果需要传递refs的话,则使用React.forwardRef,如下:
jsx
function withLogging(WrappedComponent) {
    class Enhance extends WrappedComponent {
        componentWillReceiveProps() {
            console.log('Current props', this.props);
            console.log('Next props', nextProps);
        }
        render() {
            const {forwardedRef, ...rest} = this.props;
            // 把 forwardedRef 赋值给 ref
            return <WrappedComponent {...rest} ref={forwardedRef} />;
        }
    };

    // React.forwardRef 方法会传入 props 和 ref 两个参数给其回调函数
    // 所以这边的 ref 是由 React.forwardRef 提供的
    function forwardRef(props, ref) {
        return <Enhance {...props} forwardRef={ref} />
    }

    return React.forwardRef(forwardRef);
}
const EnhancedComponent = withLogging(SomeComponent);
三、应用场景
通过上面的了解,高阶组件能够提高代码的复用性和灵活性,在实际应用中,常常用于与核心业务无关但又在多个模块使用的功能,如权限控制、日志记录、数据校验、异常处理、统计上报等
举个例子,存在一个组件,需要从缓存中获取数据,然后渲染。一般情况,我们会如下编写:
jsx
import React, { Component } from 'react'

class MyComponent extends Component {

  componentWillMount() {
      let data = localStorage.getItem('data');
      this.setState({data});
  }

  render() {
    return <div>{this.state.data}</div>
  }
}
上述代码当然可以实现该功能,但是如果还有其他组件也有类似功能的时候,每个组件都需要重复写componentWillMount中的代码,这明显是冗杂的
下面就可以通过高价组件来进行改写,如下:
jsx
import React, { Component } from 'react'

function withPersistentData(WrappedComponent) {
  return class extends Component {
    componentWillMount() {
      let data = localStorage.getItem('data');
        this.setState({data});
    }

    render() {
      // 通过{...this.props} 把传递给当前组件的属性继续传递给被包装的组件WrappedComponent
      return <WrappedComponent data={this.state.data} {...this.props} />
    }
  }
}

class MyComponent2 extends Component {
  render() {
    return <div>{this.props.data}</div>
  }
}

const MyComponentWithPersistentData = withPersistentData(MyComponent2)
再比如组件渲染性能监控,如下:
jsx
class Home extends React.Component {
    render() {
        return (<h1>Hello World.</h1>);
    }
}
function withTiming(WrappedComponent) {
    return class extends WrappedComponent {
        constructor(props) {
            super(props);
            this.start = 0;
            this.end = 0;
        }
        componentWillMount() {
            super.componentWillMount && super.componentWillMount();
            this.start = Date.now();
        }
        componentDidMount() {
            super.componentDidMount && super.componentDidMount();
            this.end = Date.now();
            console.log(`${WrappedComponent.name} 组件渲染时间为 ${this.end - this.start} ms`);
        }
        render() {
            return super.render();
        }
    };
}

export default withTiming(Home);
 Web Interview